How I Got Claude Code to Control My Fujifilm Camera
I plugged a Fujifilm X-T5 into my Mac and had Claude Code shoot photos, design a Portra 800 recipe and load it into the camera, and re-render my RAW files on its own processor. Every prompt and the full setup are below.

On this page
- Why Claude can control a camera
- What you need
- Full setup guide
- Connect Claude to the camera
- Have Claude take the photo
- Have Claude design a film recipe and load it into the camera
- Re-render RAW files on the camera's own processor
- CineStill 800T, with halation and bloom
- Why I didn't change the firmware
- The backup route: the glow added on the Mac
- The limits I hit
- What's safe to try on yours
- What Claude got done
- Downloads
I plugged my Fujifilm X-T5 into my Mac with a USB-C cable and asked Claude Code to take control of it. It read the camera's settings, switched film simulations and fired the shutter. Then it researched Kodak Portra 800, designed a film recipe of its own, loaded it into a custom slot, and re-rendered 37 of my RAW files through the camera's own processor.
Then I asked for halation and bloom, the glow you get from CineStill 800T, which this camera has no setting for. Claude studied Fuji's firmware on my Mac looking for a way to add them, found nothing it could switch on, and I stopped it there. The glow got added on the Mac instead. This post has every prompt I used, a full setup guide, both recipes, the limits I hit, and the research files Claude followed.
Educational use only
This post is for educational purposes only. Modifying camera firmware can permanently damage a camera, and there's a real chance of bricking it. Fuji X Weekly reports that Fujifilm treats any unlicensed program that connects to or controls its cameras as voiding the warranty (source). I'm not a lawyer, and nothing here is legal advice. If you follow any of this, you do it at your own risk.
Why Claude can control a camera
Fujifilm cameras talk to a computer over USB with PTP, the Picture Transfer Protocol. It's the same standard a photo app uses to import pictures. Fuji added its own commands on top for tethered shooting, custom settings and RAW conversion.
Open-source developers have spent years documenting those commands, and tools like gphoto2 and fujicli already speak them. Claude Code runs in the Mac's terminal, so it can install those tools, run them, read what comes back, and write a small script when a tool is missing something.
People have been pushing this a long way lately: continuous autofocus on a Hasselblad, an old Canon turned into a film camera, and Doom running on a Fujifilm. I wanted to see how far it goes on an X-T5.
What you need
- A Fujifilm camera with a USB tether mode. I used an X-T5.
- A Mac with Claude Code installed. I used Opus 5.5 on medium effort.
- A USB-C cable that carries data.
- A charged battery.
My camera's firmware is out of date, and shooting, recipes and RAW conversion all still worked. Check yours under MENU > SET UP > USER SETTING > FIRMWARE VERSION.
If you have a different camera, start by asking Claude how to reach it: "I want you to access my [model] camera. How would I go about doing this?"
Full setup guide
1. Set the camera's USB menu
- Open MENU, then the NETWORK/USB SETTING tab.
- Set USB POWER SUPPLY/COMM SETTING to AUTO.
- Set CONNECTION MODE to USB TETHER SHOOTING AUTO.
You'll come back to CONNECTION MODE several times. Each job needs a different mode, and Claude can't switch it for you. The menus are in Fuji's X-T5 manual.
2. Plug in with a data cable
A charge-only cable powers the camera, and the Mac never sees it. If the camera doesn't show up, try a different cable and port before anything else.
3. Turn off what gets in the way
Auto power-off. The camera drops off USB when it goes to sleep. Turn auto power-off off for the session, or half-press the shutter to wake it.
Auto Update Custom Setting. When it's on, any setting Claude changes over USB is saved into whichever C slot is active. Back up your slots and turn it off before Claude changes individual settings.
The dials. Physical dials win over USB. For Claude to set ISO and shutter speed, turn the ISO dial to C and the shutter dial to T.
The Mac's camera service. macOS grabs cameras as soon as they're plugged in. Claude has to stop that service before it can talk to the camera. You don't need to do anything; the notes file tells Claude about it.
4. Give Claude the notes file
Make an empty folder, put CLAUDE.md from the downloads at the bottom of this post in it, and open Claude Code in that folder. Claude Code reads a file with that name automatically at the start of every session.
It lists the connection modes, the open-source tools known to work with the X-T5, and two hard rules: back up the custom slots before writing to them, and never install firmware without asking.
Connect Claude to the camera
With the camera in USB TETHER SHOOTING AUTO, this was the first prompt.
All right, I want you to figure out how to control my XT5 from this Mac. Just tell me what it's set to right now. Just start clicking buttons.
Claude installed gphoto2 through Homebrew. The camera had gone to sleep, so I woke it up and told Claude to try again. Then it found the X-T5, checked its firmware version and read back the settings: 1/60, f/2.8, ISO 500. It only read; it changed nothing.
Have Claude take the photo
Switch to Astia Soft, take a photo, and save it to my Desktop.
I was moving the camera when it fired the first time, so I asked for a reshoot. Then I asked for a different recipe and it switched to a black-and-white look with punchy contrast.
Reshoot when steady

change to another recipe please
At this point Claude can read every setting on the camera, change them and fire the shutter. It isn't going to walk around taking photos for you, though, so the next step puts its work into the camera itself.
Have Claude design a film recipe and load it into the camera
Fuji cameras have seven custom slots, C1 to C7. Each one saves a whole look: film simulation, grain, colour, white balance, highlights and shadows. People share these looks online as film recipes. Normally you type one in by hand, setting by setting, which takes a long time.
I asked Claude to research Kodak Portra 800, known for soft, warm skin tones, design its own version and load it into C1.
Back up my custom settings first. Then find a popular Kodak Portra 800 film recipe for the X-T5, and use your own taste to tweak it so skin tones look really good, like real Portra 800. I'm going to say research the living crap out of how to mimic Portra 800 as close as possible. Don't just rely on the film recipe that you find. Spawn multiple agents to help you out in researching. How close we can get to Portra 800. I bet there's a lot of blog posts, resources out there that people, where people talk about this. So do that research first. Then create your own film recipe. Load it into C1, name the slot CLAUTRA 800, and then take a test photo with it.
Claude sent several research agents out at once. They came back with what real Portra 800 looks like, according to Kodak's datasheet and several film labs: warm peach-gold skin with a slight orange lean, rich deep shadows with slightly lifted blacks, and slightly muted olive greens.
It started from Fuji X Weekly's Portra 800 v3, which is built for the X-T5's sensor, and tweaked it for skin. To write the slot it wrote a small script using the protocol notes in fujifilm-ptp-recipes.
Writing to a slot needs the camera in USB RAW CONV./BACKUP RESTORE, and that's a switch you make by hand. I changed the mode, plugged back in, and sent this. CLAUTRA 800 was in C1.
Switched, go
The CLAUTRA 800 recipe
Hand these settings to your own Claude Code session and it can load the recipe for you.
Claude started from Fuji X Weekly's Portra 800 v3 and changed five settings, all for skin:
- Color Chrome Effect Strong to Weak, so warm skin doesn't look heavy
- White balance 6600K, R-1 to 6300K, R+1, so skin doesn't turn sallow
- Highlight -2 to -1.5, for a little more contrast at 800
- Color +3 to +2, because above +3 skin turns orange
- Clarity -3 to -2, soft skin without going mushy
Shoot it at ISO Auto 500 to 6400 with exposure compensation +1/3 to +1. Real Portra 800 is shot overexposed, and underexposing it gives muddy green shadows.
The selfie test
To test the recipe I had Claude take a selfie and handle the focus.
Okay, change it to CLAUTRA 800, and then I'm going to take a selfie, and what I want you to do is in real time, focus on my face, and then just take the photo.
Shooting needs the camera back in USB TETHER SHOOTING AUTO, which I'd forgotten, so I switched it. Claude wrote a script that watched the camera's live view and fired the shutter as soon as my face came into frame. The first shot caught me looking away, so I asked for another, plus an indoor version of the recipe, since I was under a softbox with no daylight.
Claude wrote CLAUTRA 800 INDOOR into C2: 5300K instead of 6300K, Red 0 and Blue -2, Color +1 and Shadow -1, with everything else the same.
For Claude to set the exposure itself, I had to turn the ISO dial to C and the shutter dial to T. Then it checked the result like a light meter. My face measured 113 out of 255 against a target of about 170, so I told it to brighten and reshoot, and it raised the ISO to 1250.
The second selfie was much brighter, maybe too bright on one side of my face. Claude said only 0.6% of the frame was blown out. I disagreed, but the skin tones and the grain looked good for an indoor shot.
Ready, shoot

Make indoor version

On C2, set exposure

Dials set, take over

Brighten and reshoot
Re-render RAW files on the camera's own processor
A recipe only changes photos you haven't taken yet. For RAW files you already have, Fuji's answer is X RAW Studio. It sends each RAW back through the camera, so the result looks exactly like an in-camera JPEG. It works, but the app is slow and painful to use.
Claude can do the same thing without the app. Each photo goes into the camera, the camera applies the recipe, and the finished photo comes back to the Mac.
Can you find some raw photos in my files anywhere? Anywhere on my computer? I think I have some raw photos somewhere, maybe even within this camera. And the goal here is to, And the goal here is to skip Fuji X Raw Studios processing of film recipes and just apply the recipe that we just created to raw camera files that I have. And just go ahead and create a contact sheet of a bunch of those different photos.
This hit a snag first. It only works with Fuji's own RAW files, so my Sony RAW files were out, and I usually shoot JPEG on the Fuji. So I went outside, took a batch of RAW photos, and told Claude to use those. It pulled 48 files from that day off the SD card, one at a time.
i just took a bunch of photos on my fuji pull those raw photos up and start converting

Switched

Yes, build it

Switched, render

can you make the photos bigger and show the raw version and then the photo next to it
For the conversion, Claude found fujicli, an open-source tool that already speaks Fuji's RAW conversion commands, and I told it to build it. Claude could have written its own version from the protocol notes other developers have published, but fujicli saved it the time. It's someone else's code, so check it before you run it.
I switched the camera to USB RAW CONV./BACKUP RESTORE. The first photo rendered in 2.7 seconds, and all 37 RAWs were done in about a minute. Claude then put each RAW next to its CLAUTRA 800 version on a contact sheet.
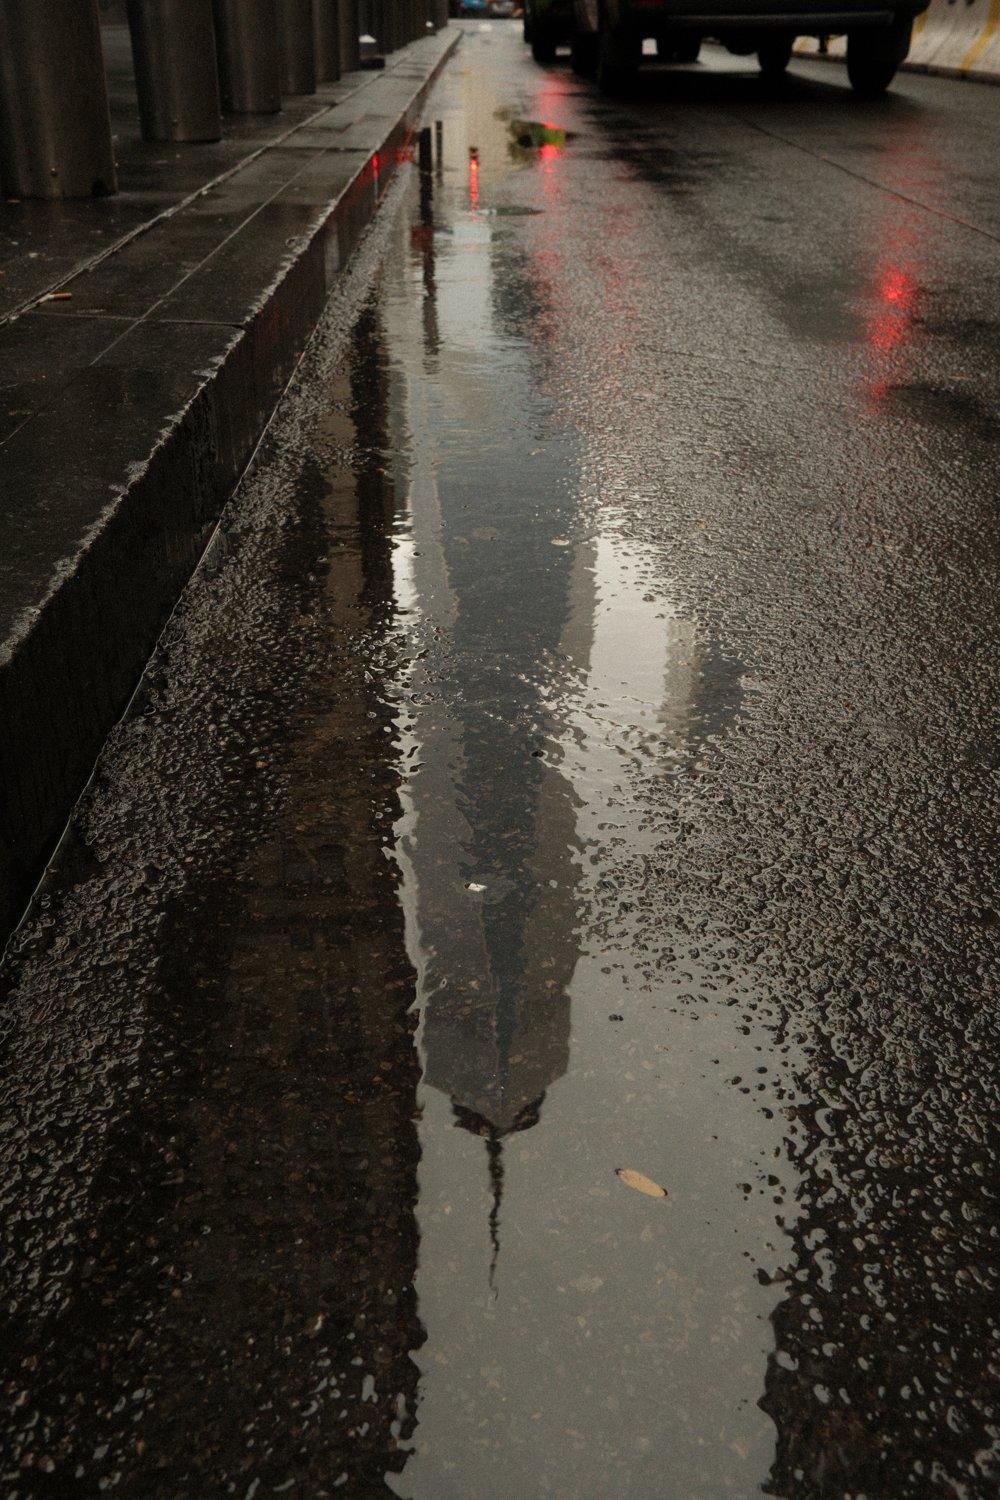
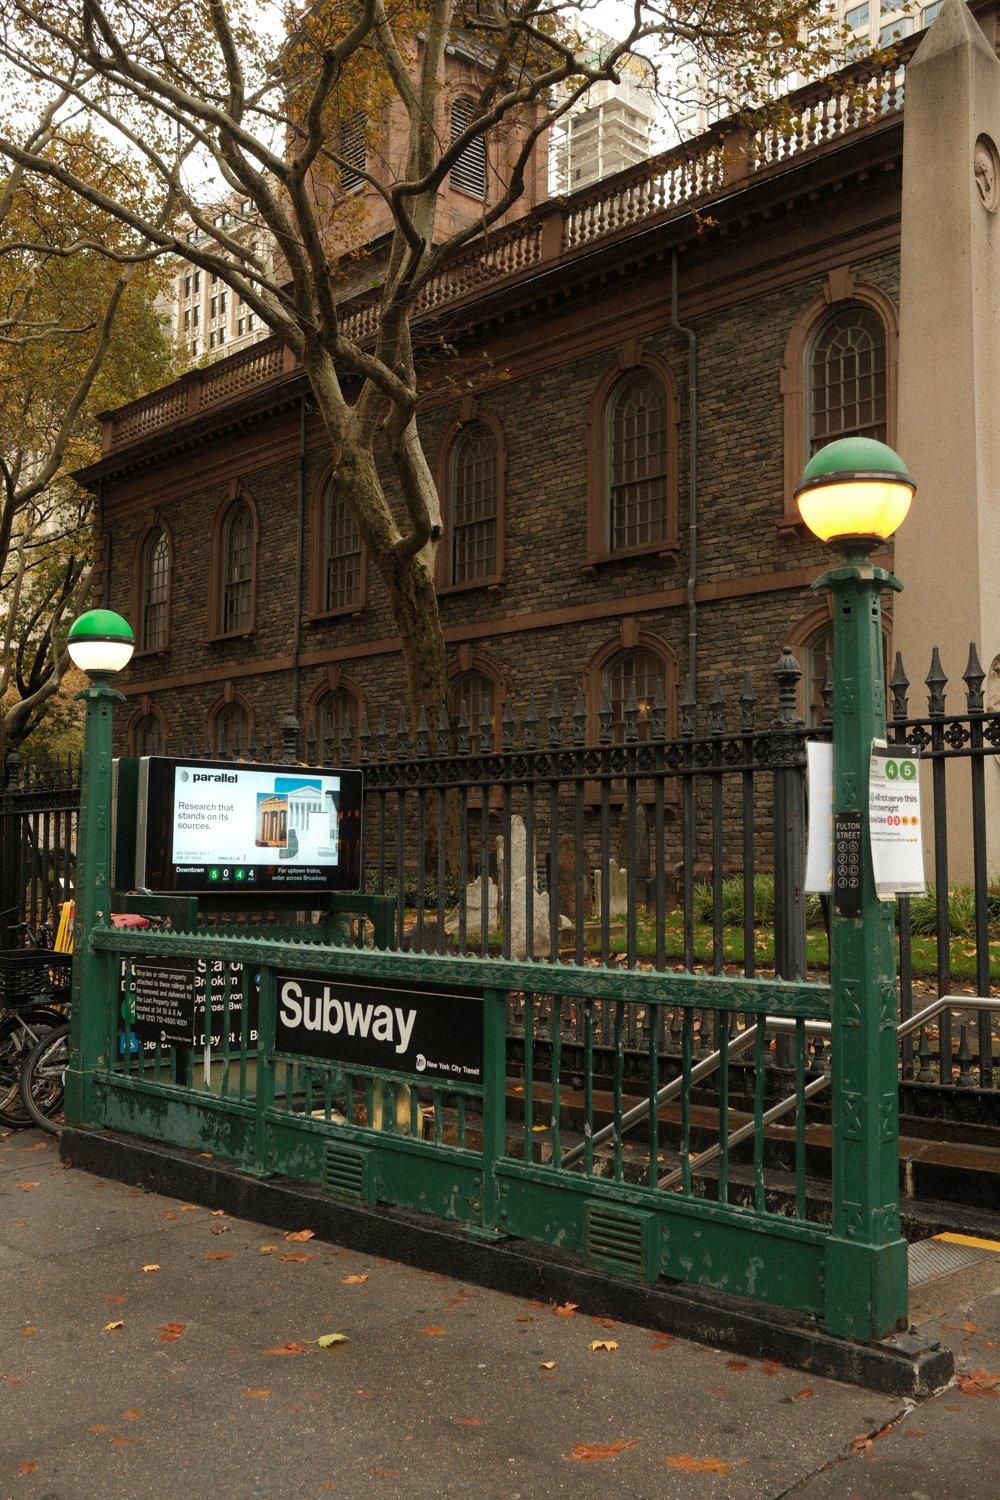
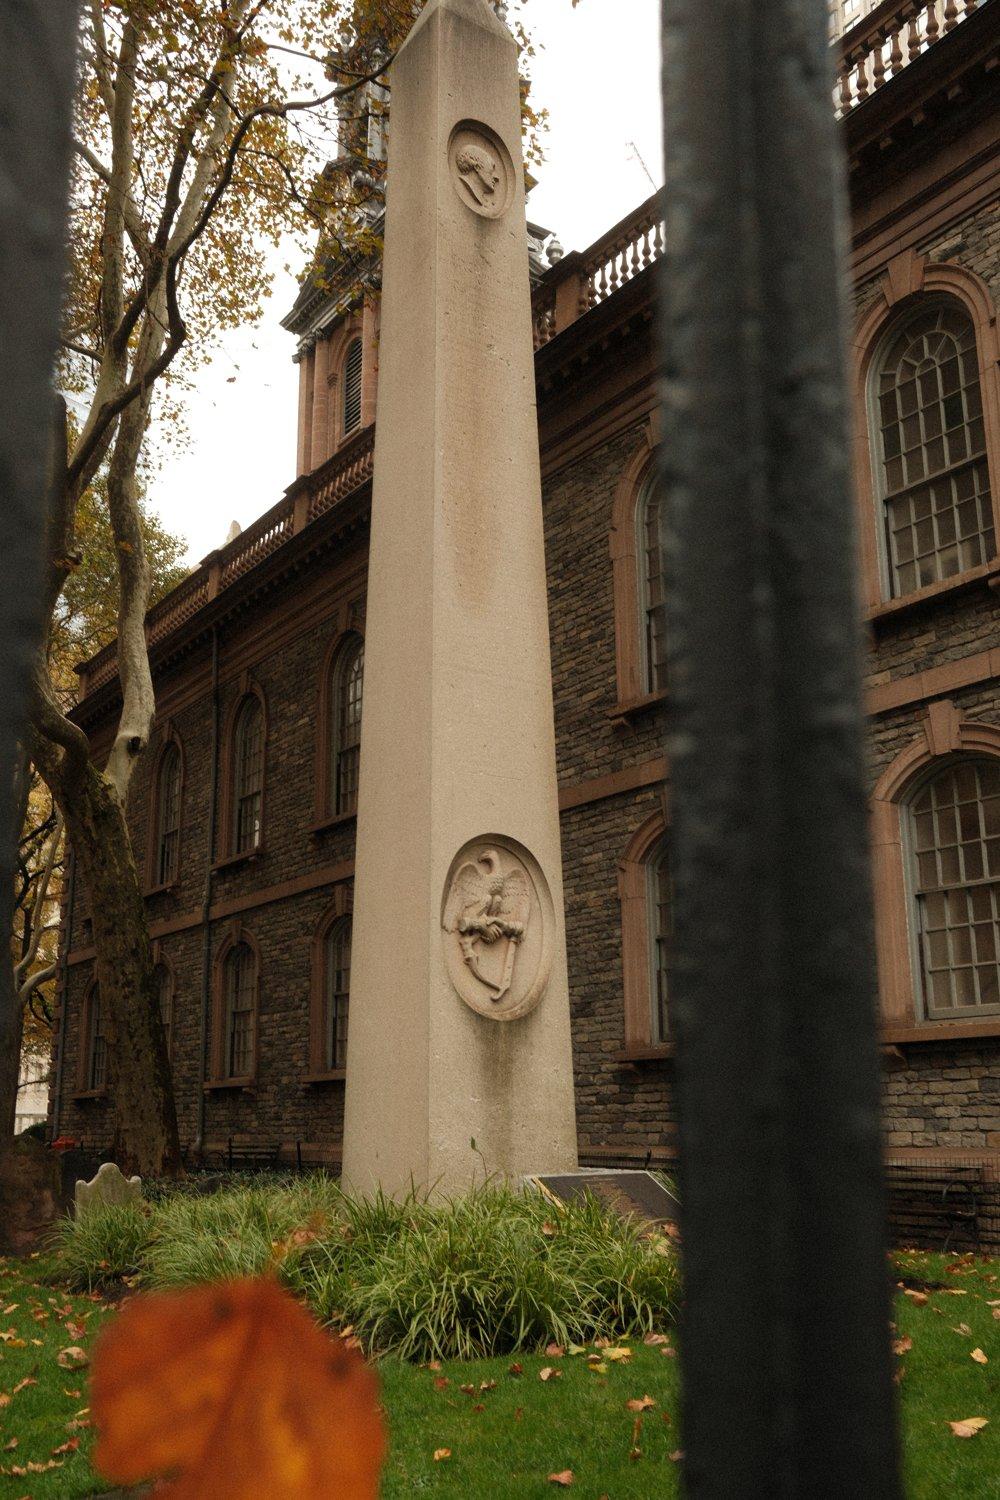
A few came out with blown highlights. You can ask Claude to look at those and see what it can recover. The warm recipe also looks a little odd on an overcast day.
CineStill 800T, with halation and bloom
CineStill 800T is Kodak movie film with one of its protective layers stripped off, and that missing layer is where its look comes from. It's one of my favourite film stocks, especially at night with a lot of lights in the frame.
Halation is the red glow around bright lights. Bloom is the soft glow around highlights, and it keeps the colour of the light.
Colour and grain can go into a recipe, but halation and bloom aren't options anywhere in the Fuji menus. There's no setting for Claude to switch on.
Why I didn't change the firmware
The only way to get halation and bloom inside the camera would be to change its firmware, the software the camera runs on. I asked Claude to try. It first worked through a backup checklist that a separate Claude session had written from what other camera modders have learned, then studied Fuji's official update file, on my Mac only.
It found that the photo processing runs on dedicated image hardware that Fuji has never documented, and that there's no setting for halation or bloom anywhere in it. There was no hidden switch to turn on. Adding one would mean reprogramming that hardware, and nobody outside Fuji knows how.
Nothing was ever installed on the camera, and I decided not to push further. A bad firmware file can leave a camera that never turns on again. If you want to explore firmware mods, FujiMod is the community project for older Fuji bodies.
The backup route: the glow added on the Mac
The same research had found another way that doesn't touch the firmware. The camera handles CineStill's colour and grain with a published recipe, and Claude adds the halation and bloom on the Mac afterwards.
Load the CineStill 800T recipe from HALATION-BLOOM.md into C3, then take the photos I shoot with it and add halation and bloom on the Mac using the method in HALATION-BLOOM.md. Show me before and after.
The first time I sent this, Claude showed a security notice and stopped, probably because of everything that came before it in that session. I opened a new Claude Code session, pasted the same prompt, and it worked.
The CineStill 800T recipe in C3
This is Fuji X Weekly's CineStill 800T recipe for the X-T5's sensor, loaded into C3 unchanged. Claude backed up all seven slots before writing it.
Shoot it at ISO Auto up to 6400 with exposure compensation -1/3 to +2/3. Night scenes with street lamps, neon and headlights give the halation the most to work with.
Rendering my RAW files with it
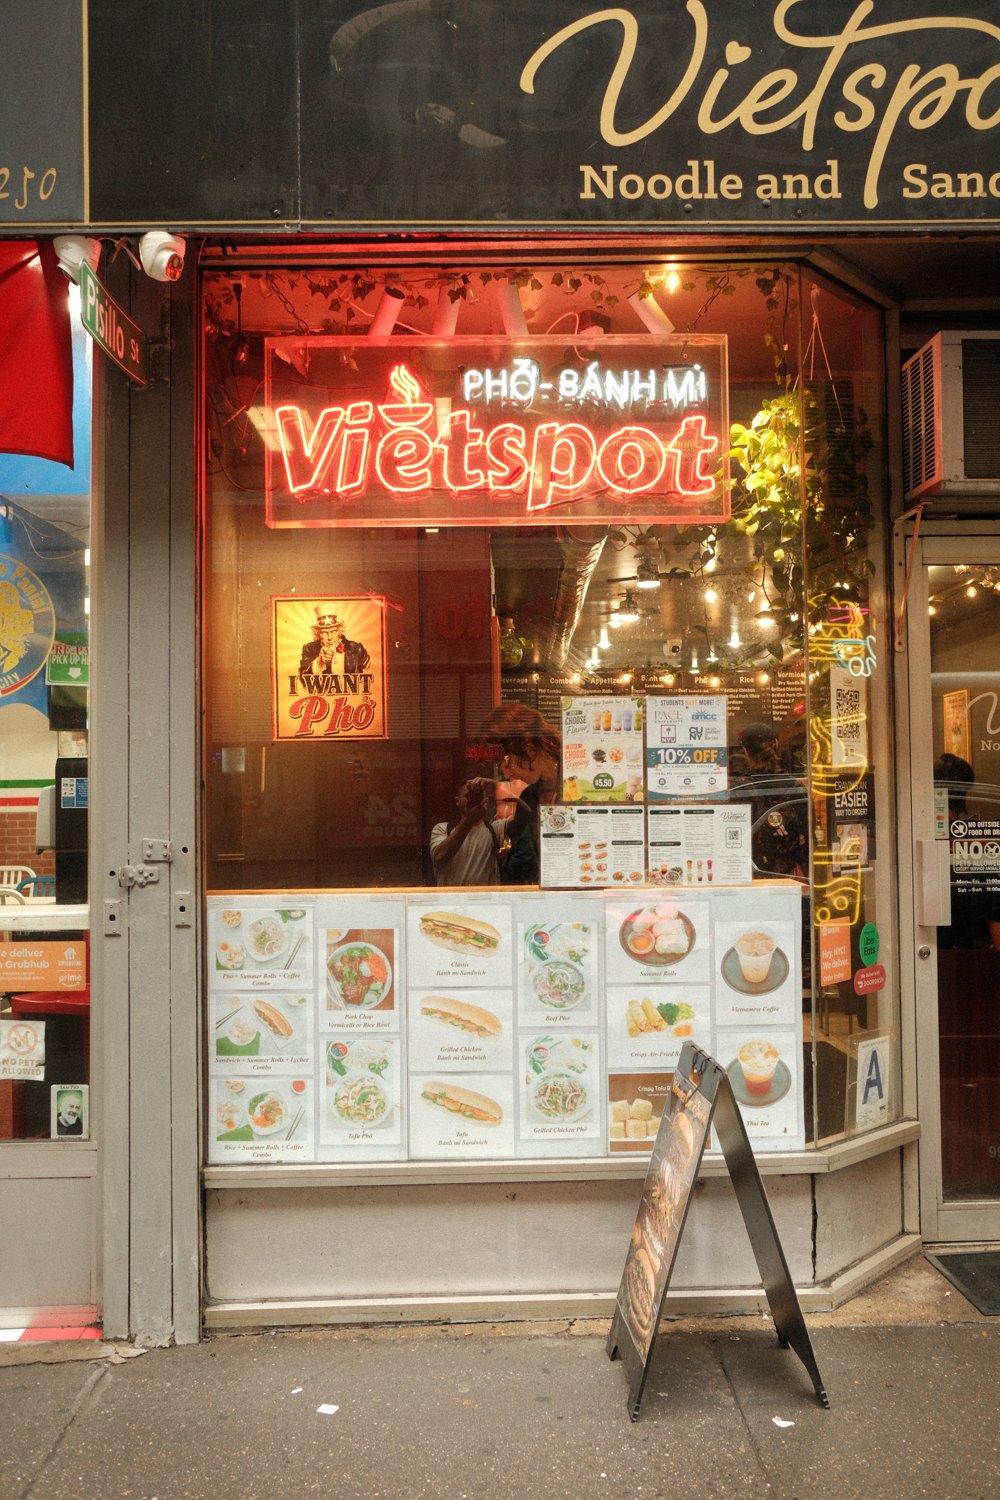
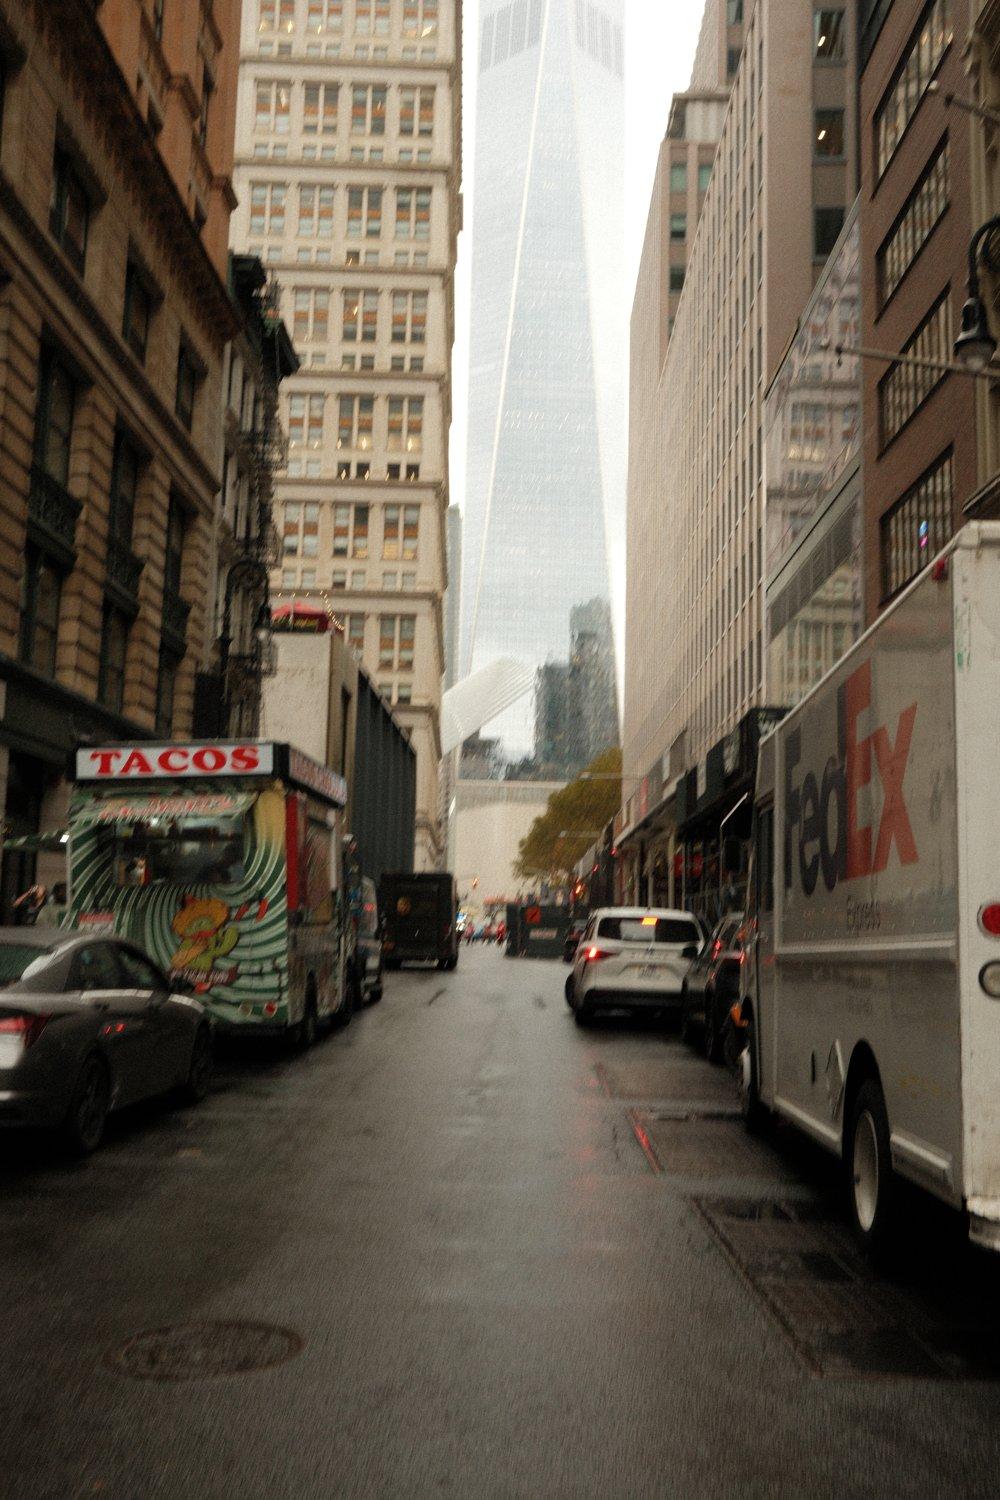
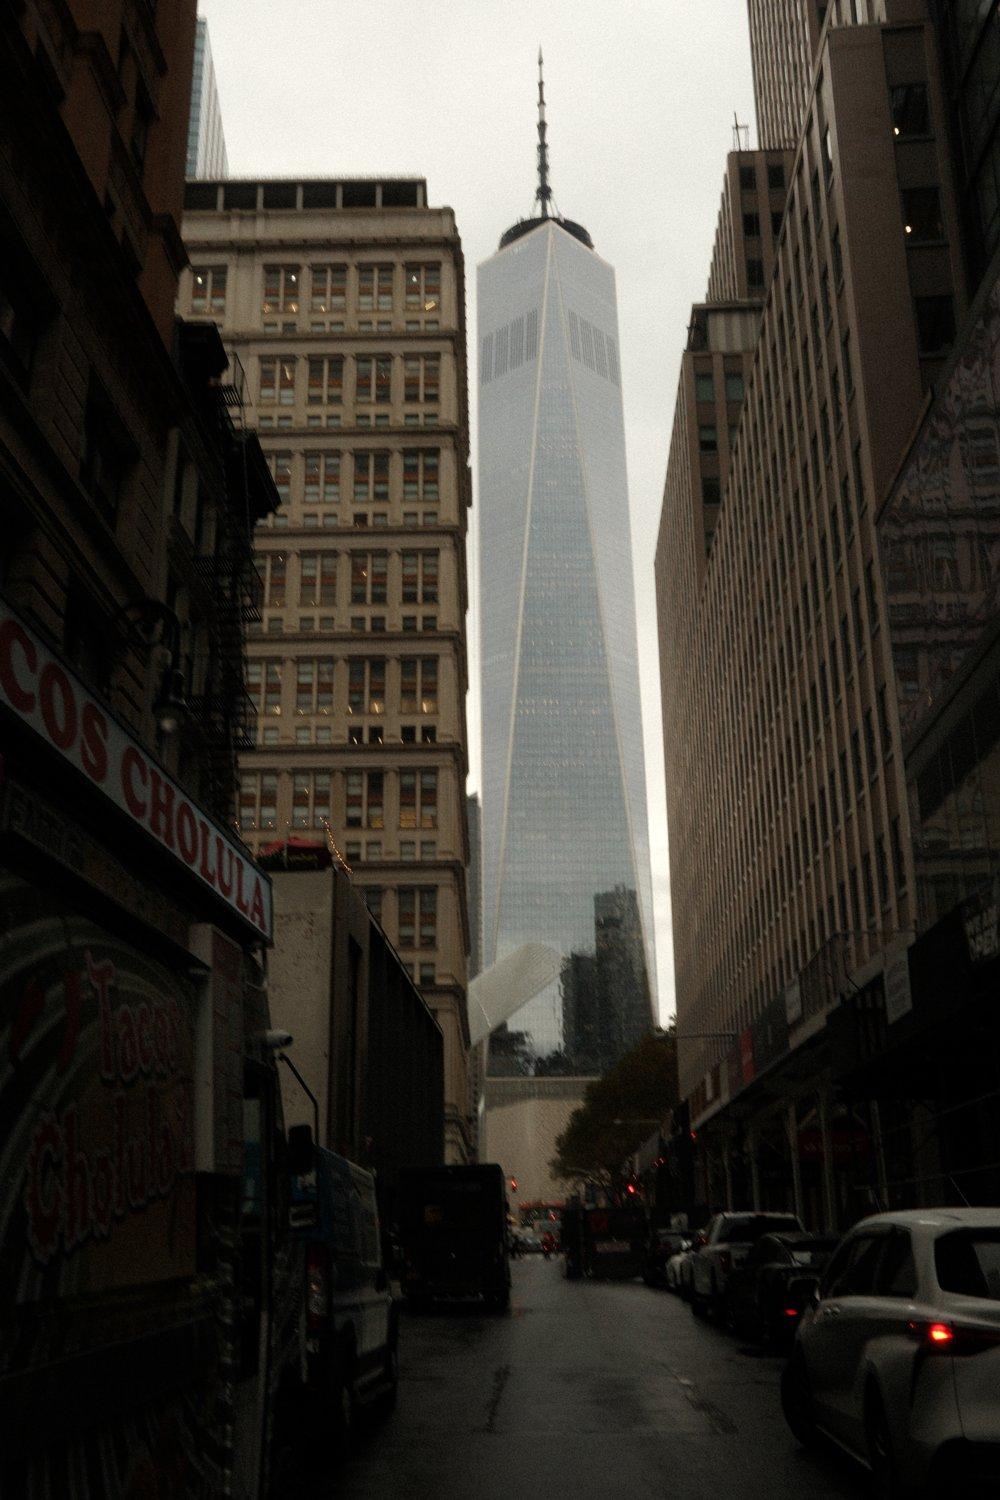
Instead of shooting new photos, I had Claude use the RAW files from earlier. fujicli sent each one to the camera, and the camera rendered it with the CineStill recipe from C3, about 2 seconds a photo. The colour and grain in these come from the camera's own processor.
Adding halation and bloom on the Mac
Claude wrote a short script that follows the same method as the open-source app Halationify. It finds the brightest parts of each photo, blurs them, tints that glow red-orange and lays it back over the photo. That's the halation. A second, softer glow keeps each light's own colour. That's the bloom.
The halation and bloom in these photos were added on the Mac. The camera can't do that part.
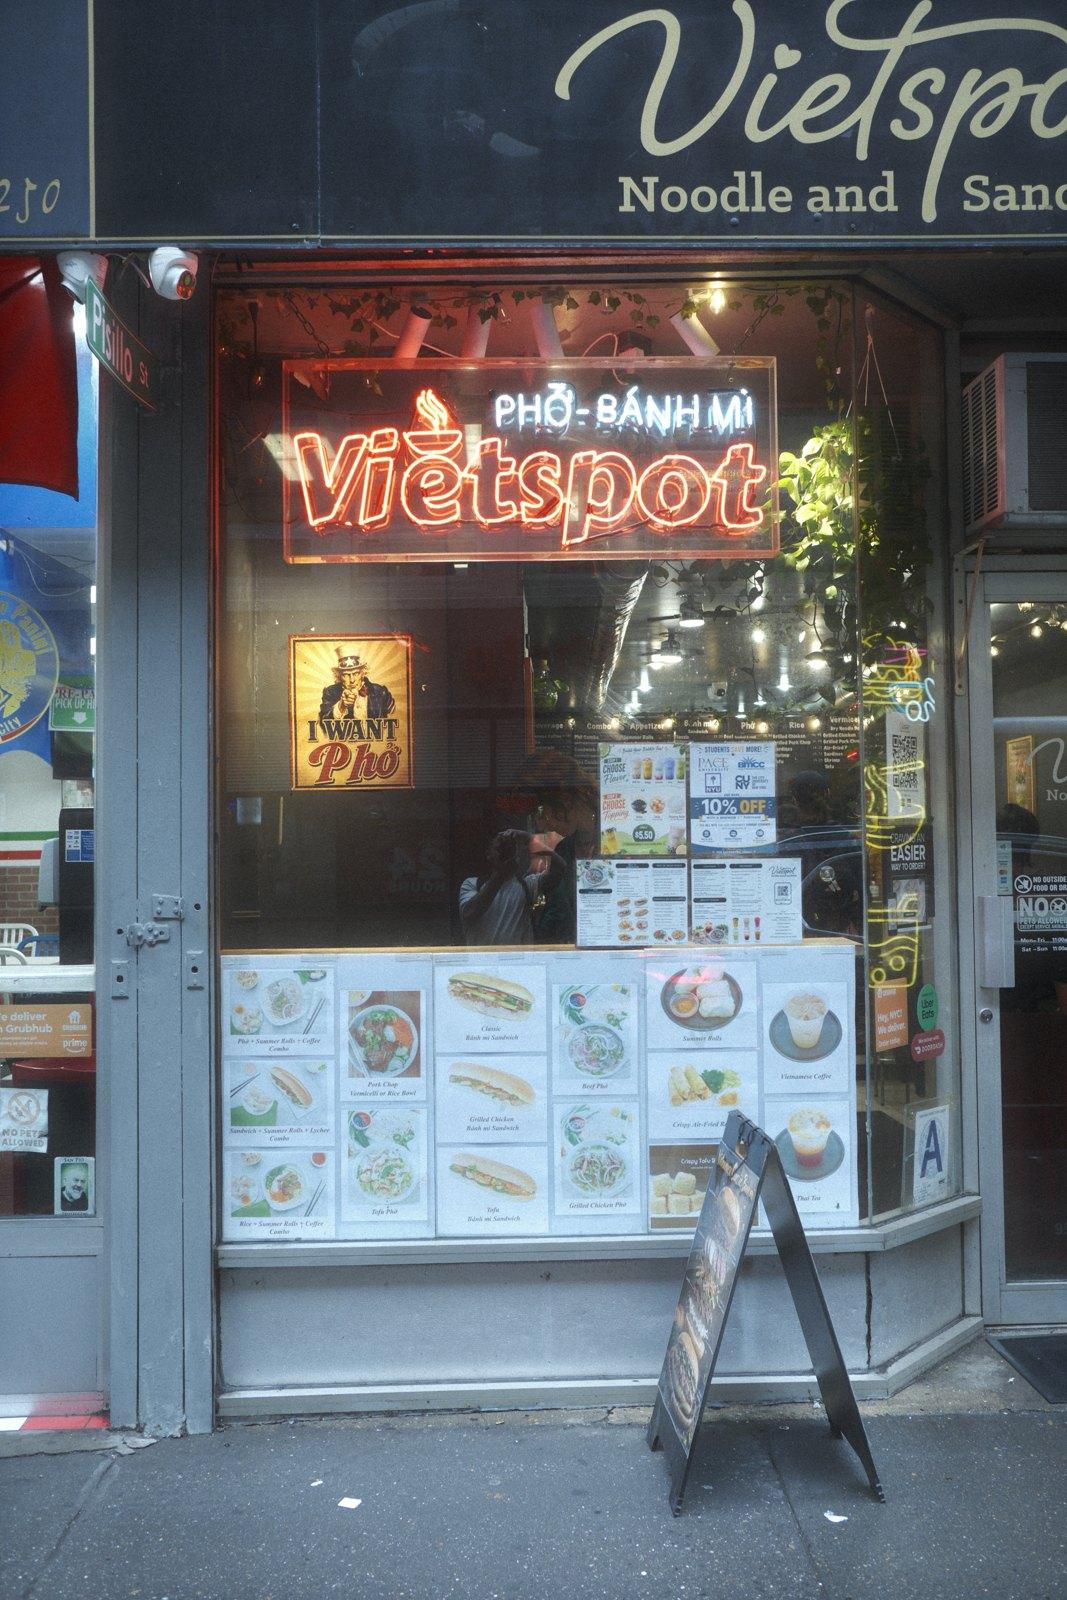
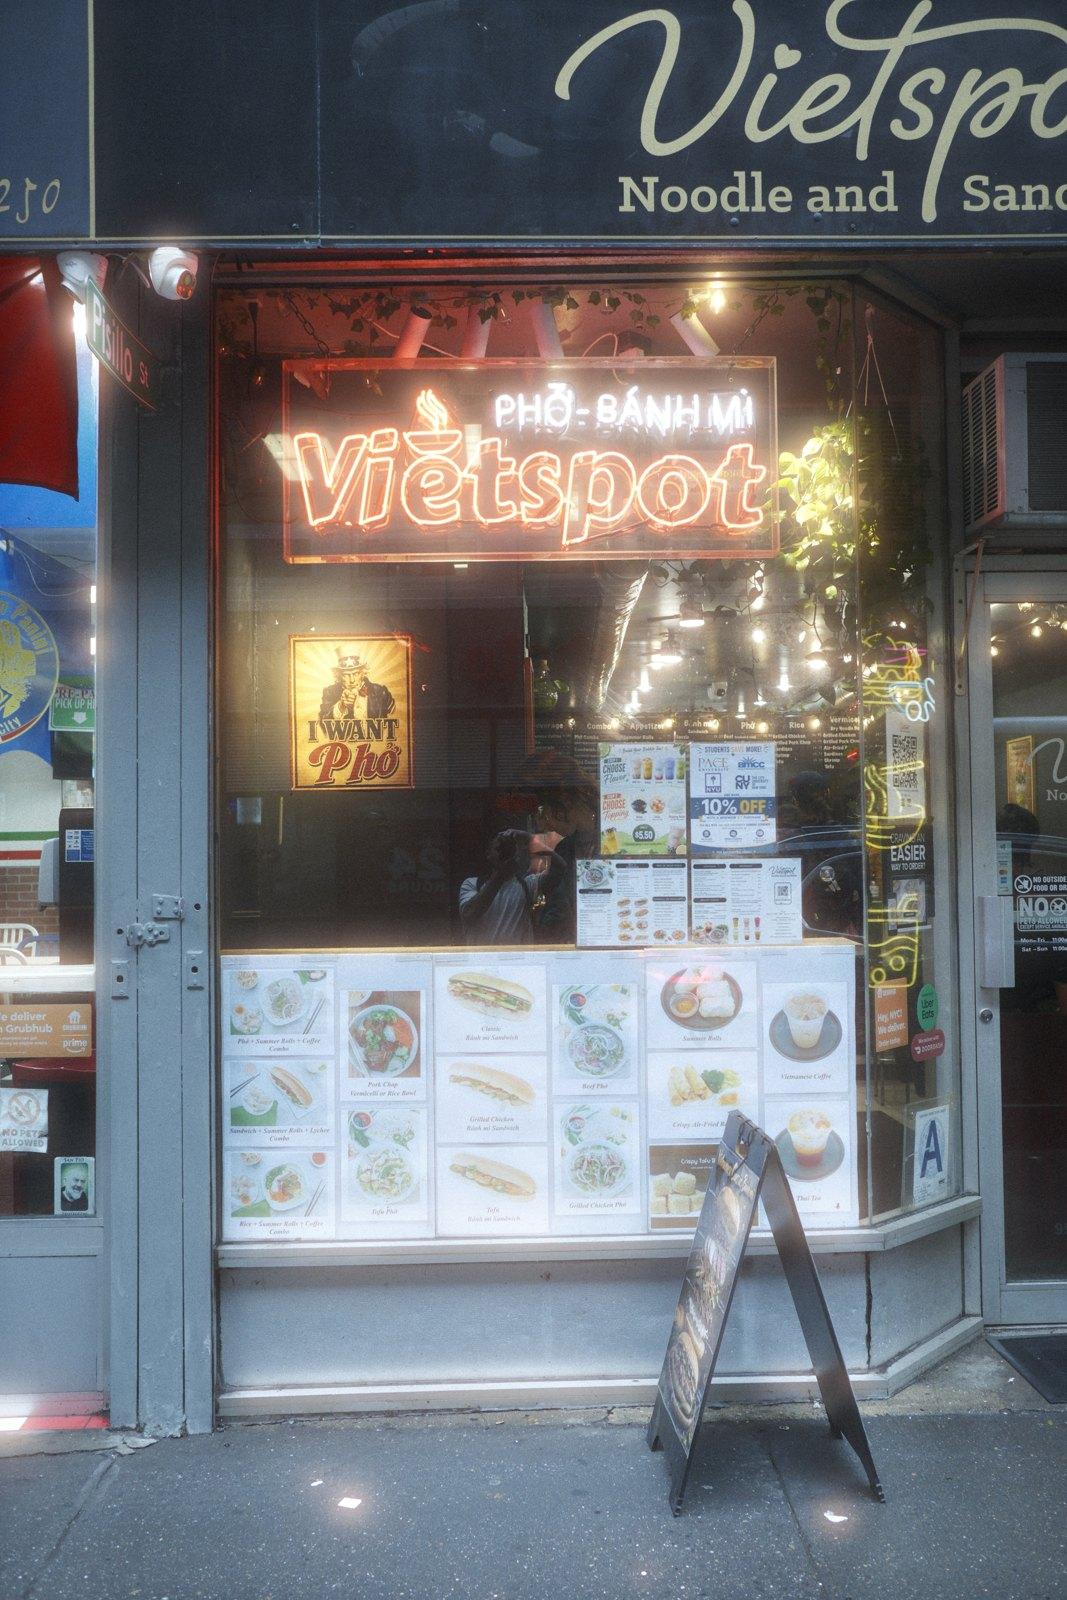
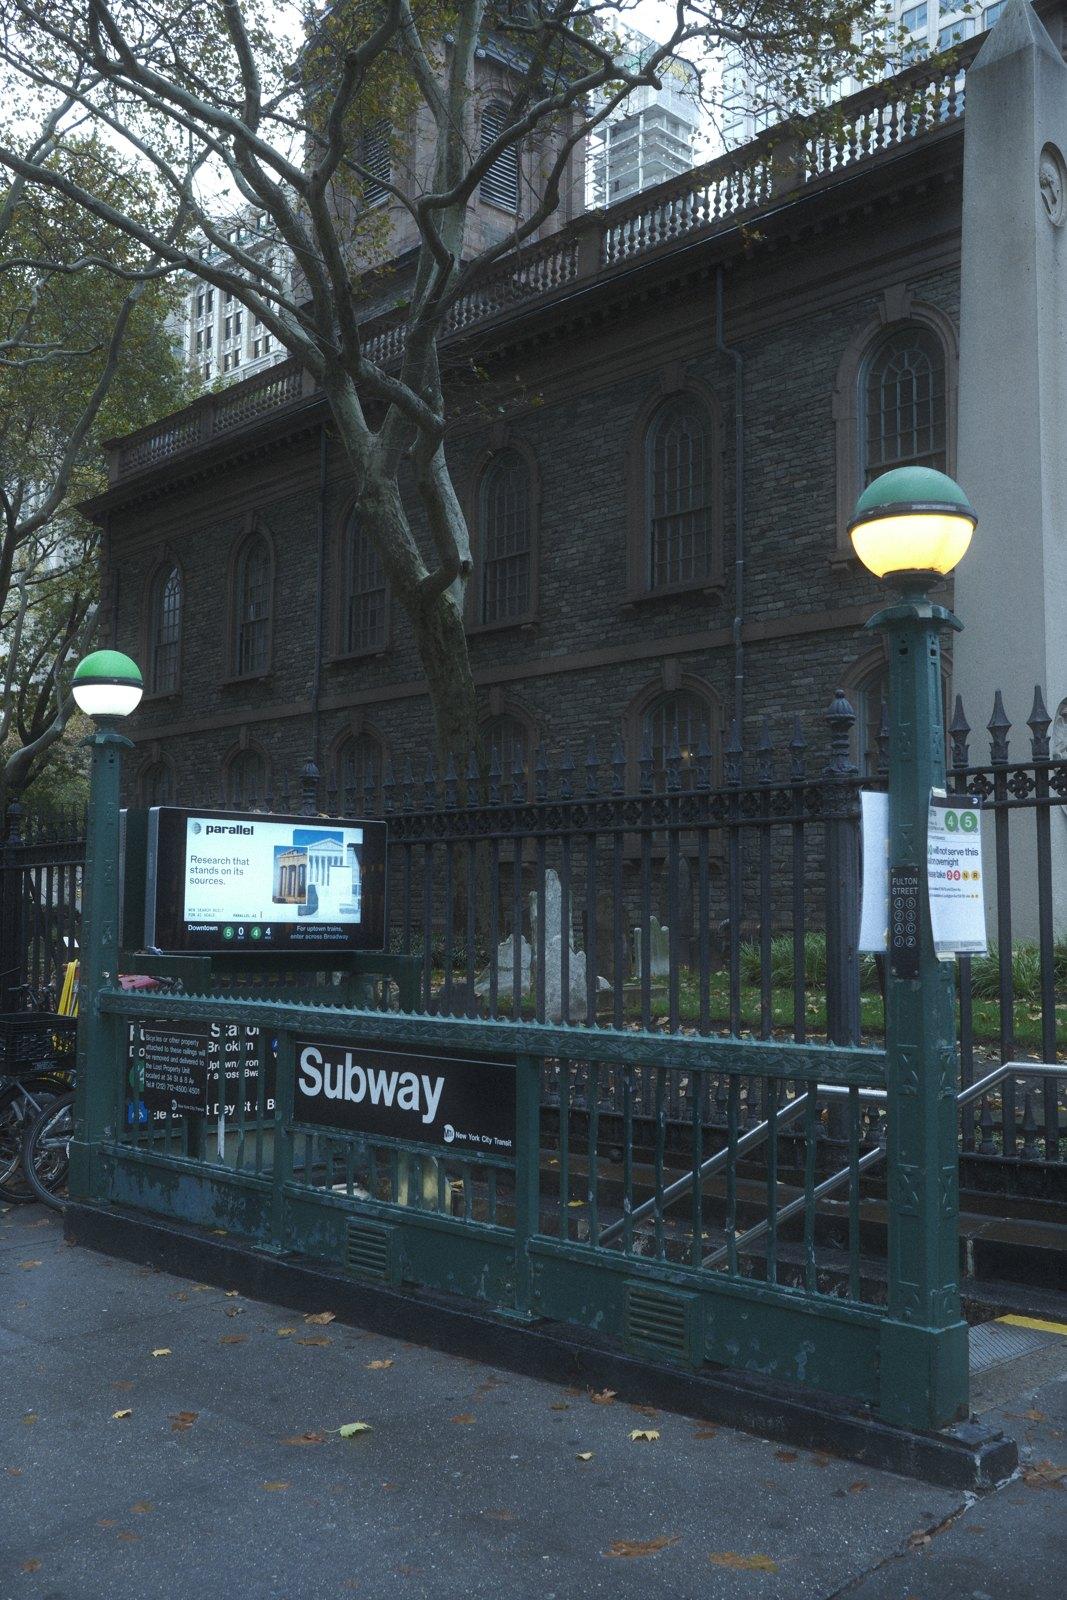
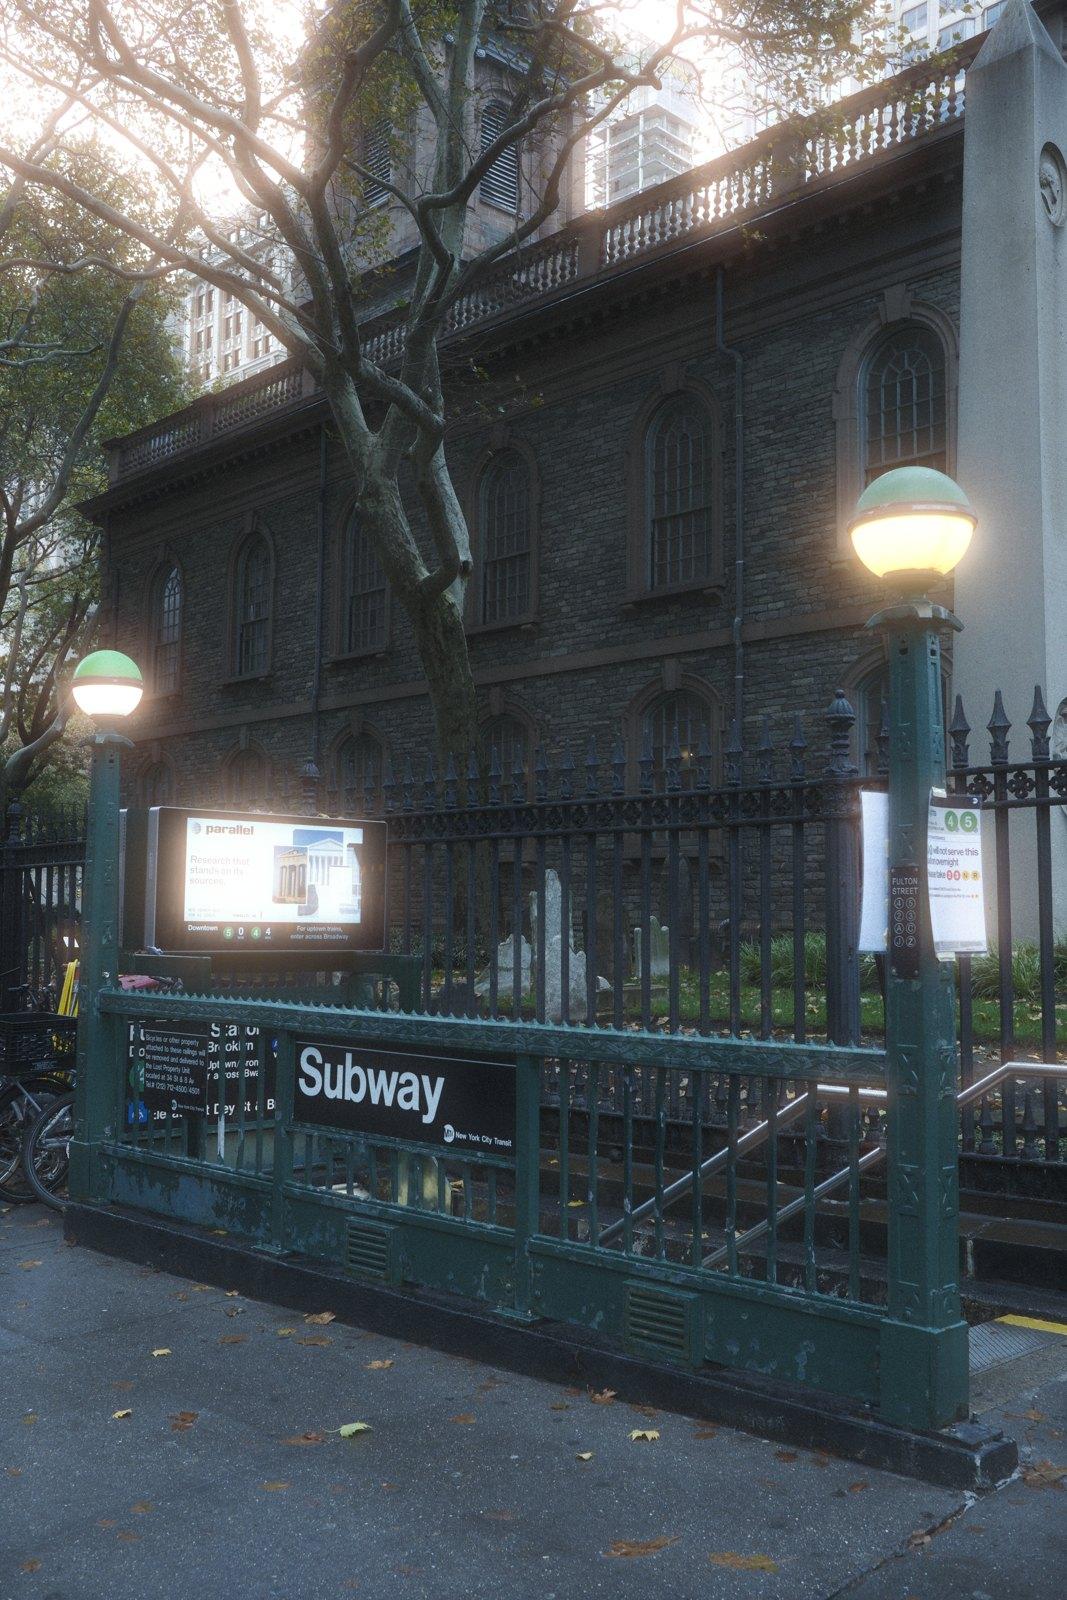
These were shot in daylight, so it's not exactly CineStill, but you can see the halation in the reds and the bloom wherever there are highlights. It's a little aggressive. You can tell Claude "decrease that a bit" and it re-renders the batch.
To use this for real, shoot in RAW and have Claude edit the batch afterwards. You could also give Claude real CineStill 800T photos and have it keep adjusting until its version matches them. The same works for any film recipe.
The limits I hit
Claude can't pick the active C slot. Over USB it chooses which slot it reads and writes, but the camera keeps shooting with the slot selected on the body. You pick C1 to C7 yourself from the Q menu.
Claude can't switch the USB connection mode. Tether shooting, backup and RAW conversion, and card reader are separate modes, and you change them on the camera each time.
RAW conversion only works on Fuji RAW files. RAWs from other brands can't go through it. My Sony RAW files were out.
Dials beat USB. Claude's exposure changes are ignored while the ISO and shutter dials sit on numbers. Set them to C and T.
The camera falls asleep. It drops off USB when it sleeps. Wake it, or turn auto power-off off.
Security notices after long sessions. If Claude blocks a harmless request, open a fresh Claude Code session and send it again.
What's safe to try on yours
Shooting, loading recipes and re-rendering RAWs all use features Fuji built, through the same USB modes Fuji's own apps use. Back up your custom slots first and turn off Auto Update Custom Setting. The warranty point at the top still applies.
Firmware is a different level of risk. One bad file can leave you with a camera that won't turn on. If you do want to go there, have Claude research your exact camera first, and treat my research files as a starting point only.
What Claude got done
Even with the roadblocks, plugging the camera into my Mac and letting Claude do the rest got a lot done. Claude took photos, built a film recipe, loaded it right into the camera, and re-rendered 37 RAW photos without opening X RAW Studio. It took the firmware apart to see how the camera processes a photo, and when that stopped, it got the CineStill look with a recipe in C3 and the glow added on the Mac.
We didn't modify the firmware, and honestly, I'm glad we didn't. If you're not in the Fuji ecosystem, plug in your camera and ask Claude what it can do with it.
Downloads
These are the files from my project folder, with my own details removed. Put them in an empty folder and open Claude Code there. CLAUDE.md is the one Claude reads automatically; it points to the others.
The research files
This is an acknowledgement, not legal advice.

Comments
Sign in to join the conversation.